
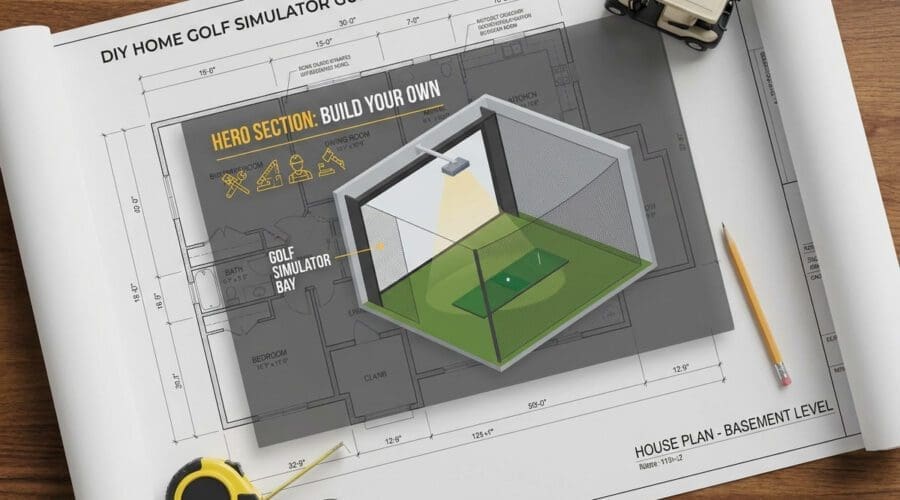
DIY Golf Simulator: How to Build One (Parts + Budget)
Quick Answer
A DIY home golf simulator costs about $1,500 to $8,000 in 2026. A budget build runs $1,500–$3,000 (entry launch monitor, hitting net, basic projector); a mid-tier build runs $4,000–$8,000. You’ll need six parts: a launch monitor, a hitting mat, an impact screen or net, a projector, a PC, and software — plus about 9–10 feet of ceiling height.
Building your own golf simulator is very doable, and it’s usually a good bit cheaper than an all-in-one package. The trade-off is that you’re choosing and assembling the parts yourself. Once you know the six pieces and what each one costs, the whole project stops feeling intimidating.
Here’s exactly what goes into a DIY build, realistic 2026 prices for every part, and a simple order of operations. Figures come from current build guides and retailers as of August 2026.
How much does a DIY golf simulator cost?
A DIY golf simulator costs roughly $1,500 to $8,000, depending on the launch monitor and enclosure you choose. The launch monitor is usually 30–50% of the total, so it drives your budget more than anything else. Here’s how the parts break down.
| Component | Budget | Mid-tier |
|---|---|---|
| Launch monitor | $500–$700 | $1,100–$2,500 |
| Hitting mat | $200–$300 | $700–$950 |
| Impact screen / enclosure | $200–$500 (net) | $800–$1,500 (DIY enclosure) |
| Projector | $700–$900 (1080p) | $1,200–$2,000 (4K) |
| Gaming PC | $800–$1,200 | $1,500–$2,500 |
| Software | $250–$600/year | $250–$600/year |
| Typical total | $1,500–$3,000 | $4,000–$8,000 |
What do you need to build a DIY golf simulator?
Six parts, plus a room with enough height. Here’s what each one does and roughly what to spend. And if no room in the house clears the height bar, a backyard building might: our golf simulator shed guide covers real builds at three budgets.
1. Launch monitor ($500–$2,500)
This is the brain of your setup — it reads your ball and club. Entry-level options like the Garmin Approach R10 are a popular, wallet-friendly place to start, while step-up units such as the SkyTrak+ and FlightScope Mevo+ add more data and accuracy. Since it’s the biggest line item, decide here first and build the rest of the budget around it.
2. Hitting mat ($200–$950)
A good mat protects your joints and gives a realistic turf feel. Budget mats like the Country Club Elite do the job nicely, while premium mats such as the Fiberbuilt Studio add durability and a softer strike. Any quality mat is a worthwhile upgrade over hitting off a thin pad.
3. Impact screen or net ($200–$1,500)
If you just want to hit and track data, a sturdy net at $200–$500 works great. If you want to play courses on a projected image, you’ll want an impact screen and enclosure. DIY enclosure kits from Carl’s Place land around $800–$1,500 and are designed for home builders. You can source screens, mats, and kits from retailers like Shop Indoor Golf too.
4. Projector ($700–$2,000)
A short-throw projector fills your screen from close range without casting shadows. A 1080p short-throw model runs about $700–$900; a 4K short-throw for a crisper image runs $1,200–$2,000. Match the throw ratio to your room depth before you buy.
5. Gaming PC ($800–$2,500)
Simulator software leans on your graphics card. A budget build with an i7 and an RTX 3060/3070 (around $800–$1,200) runs most software smoothly; an i9 with an RTX 3080/4080 ($1,500–$2,500) gives you headroom for 4K. Some lighter software runs on iPad or Mac if you’d rather skip a full PC.
6. Software ($250–$600/year)
This is what you actually play. Popular choices include GSPro, E6 Connect, and Awesome Golf. We break them all down in our guide to how golf simulators work so you can match software to your monitor.
How do you build a DIY golf simulator, step by step?
- Measure your space first. You need about 9–10 feet of ceiling height, 12–14 feet of width, and 15+ feet of depth for a full swing. Confirm this before buying anything.
- Choose your launch monitor. It sets your budget and decides which software you can run.
- Build or buy the enclosure and screen. Frame it (many builders use steel pipe or 2x4s), then hang the impact screen taut.
- Lay the hitting mat and position your tee area for your dominant hand.
- Mount the projector at the correct throw distance and align the image to the screen.
- Set up the PC and software, calibrate the launch monitor, and hit a few test shots.
Is it cheaper to build your own golf simulator?
Usually, yes. Sourcing the parts yourself and doing your own assembly typically saves money versus an all-in-one package, especially on the enclosure and PC. The main cost you can’t shrink much is the launch monitor, since that’s where accuracy comes from. If you’d like to compare a DIY total against pre-built bundles, see our golf simulator cost guide. If you would rather not build it yourself at all, a custom simulator installer will design and fit the whole room, which is a different tier of product than a DIY build.
Want the launch monitor for less? Our used golf simulator buying guide shows what popular models actually sold for over the past 60 days and what to inspect before you pay.
Frequently asked questions
What is the cheapest way to build a golf simulator?
The most affordable functional build pairs an entry-level launch monitor (around $500–$700), a hitting net instead of a full enclosure, a budget mat, and a computer you already own. That gets you into the $1,500–$3,000 range while still giving you real ball data.
Do you need a projector for a DIY golf simulator?
Only if you want to play courses on a big projected image. If you’re happy tracking data and using a tablet or monitor for the display, you can skip the projector and the impact screen and just use a net, which lowers the cost considerably.
How much ceiling height do you need?
Plan for at least 9 feet, and 10 feet is more comfortable for taller players and upright swings. Below 9 feet, most golfers can still hit irons but may catch the ceiling with a driver.
What’s the ongoing cost after you build it?
Mainly software, at about $250–$600 a year depending on the program. Some launch monitors also offer optional subscriptions to unlock extra features. Budget a little for the occasional screen or mat replacement over time.
The bottom line
- A DIY golf simulator runs about $1,500–$8,000; the launch monitor drives the budget.
- Start with space (9–10 ft ceilings), then pick your monitor, then build outward.
- Skip the projector and enclosure with a net to build cheaply; add them later to play courses.
Want to try a few setups before you build your own? Head to GolfSimSpot to find a simulator venue near you and see different launch monitors and software in person first.
Would rather have it built for you?
A DIY build and a professionally installed simulator are two different products, and it helps to be honest about the gap. Everything above assumes you are comfortable mounting a screen, running cable, and living with a frame you assembled yourself. That is a genuinely good way to get playable ball data into a spare room for a few thousand dollars.
Custom installers work at a different tier. They design the room rather than fit equipment into it: bespoke enclosures and cabinetry, hidden wiring, ceiling-mounted short-throw projectors, acoustic treatment so the impact does not carry through the house, proper lighting, and calibration done on site rather than by you on a Saturday. Many also handle commercial installations for clubs, offices, and hospitality venues, where the build has to look finished and survive constant use. Expect that work to start where a serious DIY build ends, and to run well beyond it for a full room.
The trade is straightforward. DIY buys you the lowest cost and the satisfaction of building it. A custom installer buys you a finished room, a single point of accountability, and a warranty covering the installation itself rather than just the individual components.
These installers are listed in the Golf Sim Spot directory. If one covers your area, contact them directly for a quote.
West
- Virtual Tee Systems Arizona – Tempe, Arizona
- Indoor Golf Design – Chandler, Arizona
- Virtual Tee Systems Northwest – Lake Oswego, Oregon
- Virtual Tee Systems Colorado – Englewood, Colorado
- Launch House Golf – Irvine, California
Midwest
- Virtual Tee Systems Michigan – Owosso, Michigan
- EKGolf – Urbandale, Iowa
South
- Virtual Tee Systems Texas – Lewisville, Texas
- Virtual Tee Systems Florida – Longwood, Florida
- Virtual Tee Systems Carolina – Charlotte, North Carolina
- Fitted Fairways Golf Studio – St Simons Island, Georgia
Northeast
- Virtual Tee Systems New England – Hudson, Massachusetts
- Precision Sports – Altamont, New York
- Big Screen Golf – Pottstown, Pennsylvania
Not seeing your region? Browse every golf simulator installation service in the directory.
Related guides
- Golf simulator room size: the space and ceiling height you need.
- Best golf simulator software: GSPro, E6 and more, matched to your launch monitor.
- Find a golf simulator near you: search 2,300+ venues by launch monitor and amenities.
Updated August 2026. Component prices are drawn from current build guides and retailers as of this date and will vary by brand and model.